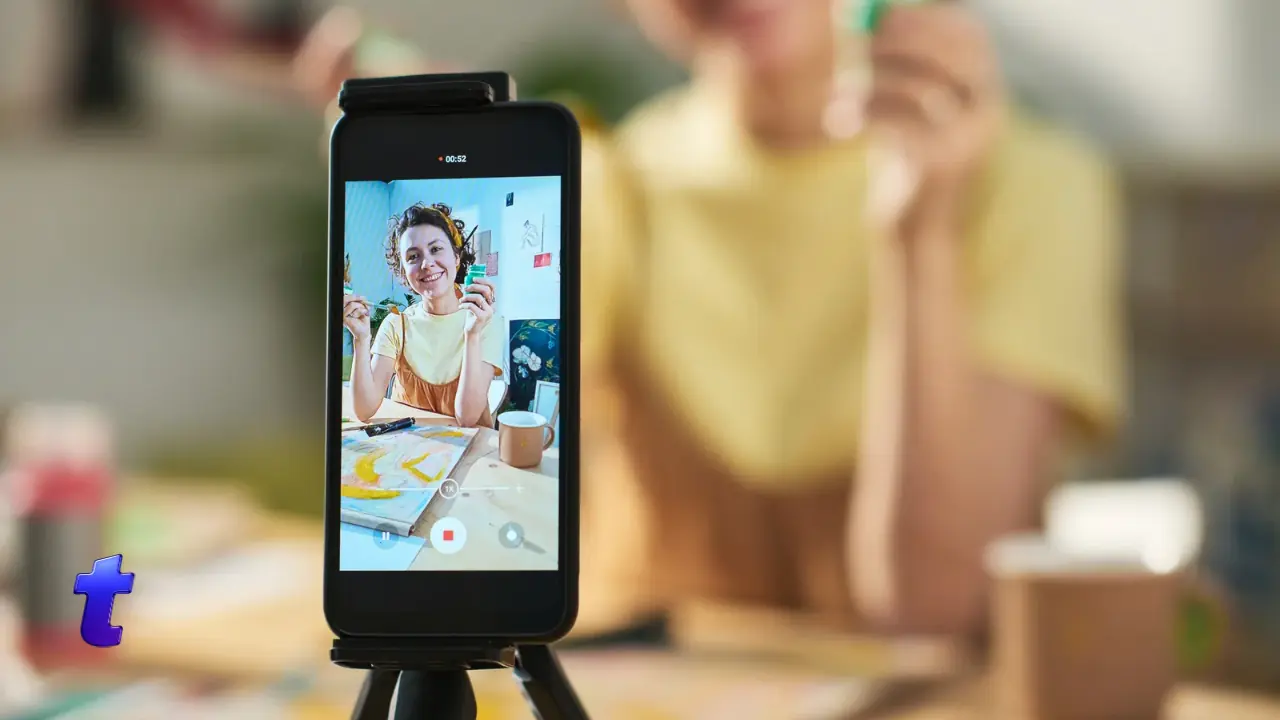
You read about Trybe, you liked the idea of getting paid when your videos sell, and then a scary thought showed up: “But I have never filmed myself before.” Good news: brands on Trybe are not looking for polished influencers. They want real people talking honestly about products, and that is something you already know how to do.
This guide shows you how to make your first Trybe video from start to finish: signing up, picking a brand program, reading a brief, filming on your phone, and submitting. If you are still fuzzy on the basics, start with our explainer on what Trybe is and how it pays creators, then come back here.
What You Need Before You Start
The startup cost is close to zero. Trybe says it is free for creators, and you do not need a big following. Here is your short list:
- A smartphone. Any recent phone camera is good enough.
- The Trybe Creators app. It is on the App Store for iPhone, and an Android version has appeared on Google Play.
- A bank account. Payouts run through Stripe, which supports creators in 170+ countries.
- A window and a quiet room. Natural light and clear sound matter more than any gadget.
Step 1: Sign Up and Set Up Your Profile
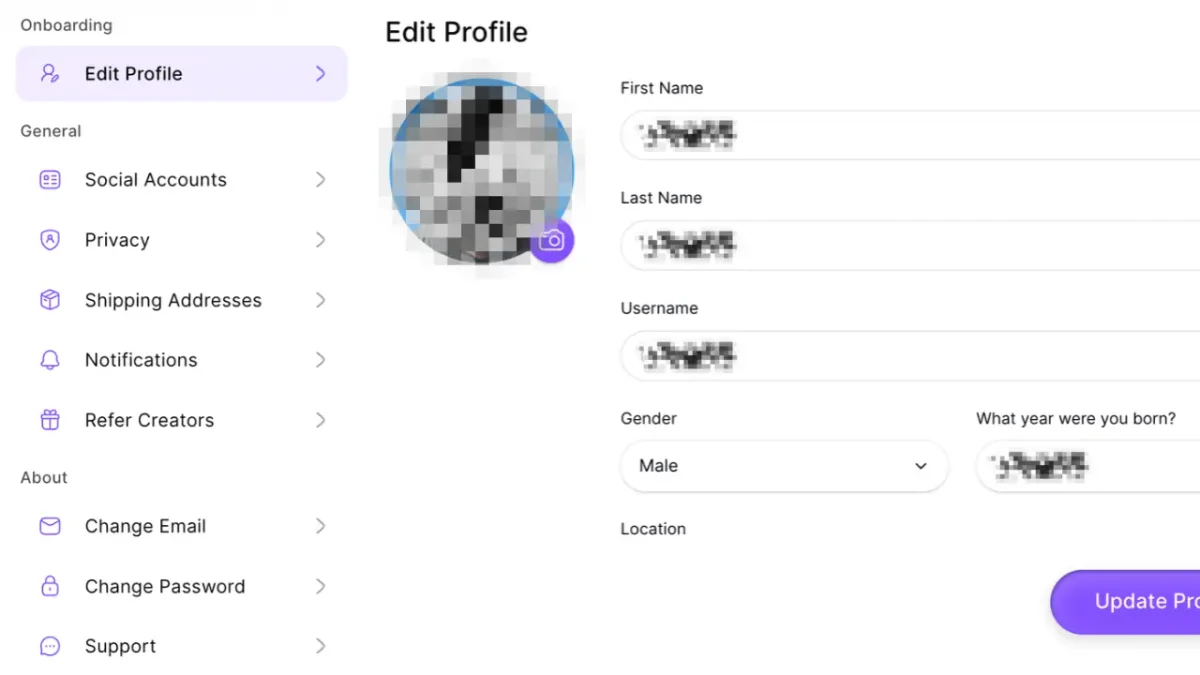
Download the app, create your account, and fill out your creator profile. Brands check it before approving you.
Add a clear photo, a short bio about who you are (busy mom, college student, gym regular, pet owner), and the kinds of products you actually use. If you have no past videos, film two or three quick practice clips of products already in your home. These become your starter portfolio, which is simply a collection of work samples that shows brands what you can do.
Some brands run creator videos as Partnership Ads on Meta, meaning the ad shows up on Instagram or Facebook under your name. If a program asks you to connect your social account, that is why.
Step 2: Pick Your First Brand Program
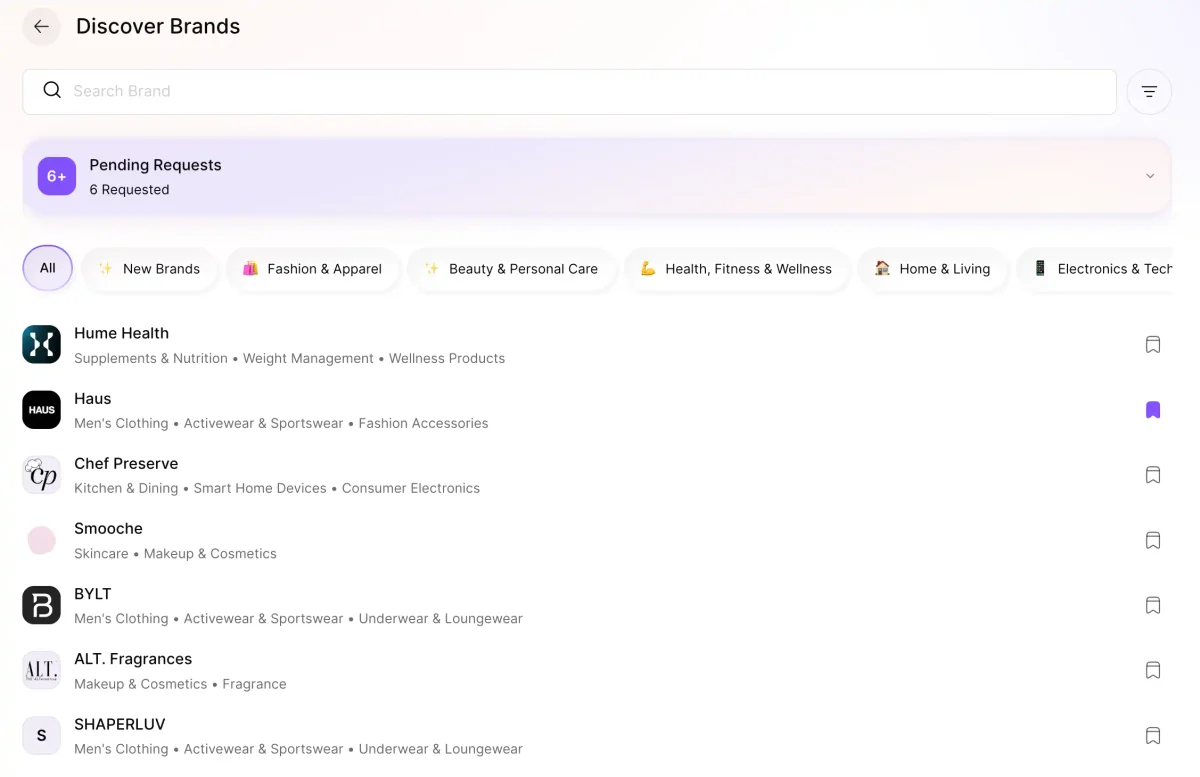
On Trybe, each brand runs its own creator program. You can request to join in one tap, and once the brand approves you, you get access to its brief and can request product samples if needed.
Every program pays a little differently, so check the terms before joining. The common models are:
- Flat fee. A set amount per video, earned when the brand accepts your submission. Non-passive and focused on payment in the immediate term.
- Commission. A percentage of the sales or ad results your video drives, earned as results come in. Payment as your ad drives clicks and purchases which is far longer term with more passive value.
- Retainers and bonuses. Ongoing deals some brands offer creators whose videos perform well. A mix of passive and non-passive where you are paid for a set of videos and typically bonuses when they exceed expectation.
Beginner tip: for your first video, pick a brand whose product you already own or would genuinely buy. Honesty shows on camera, and you skip waiting for a sample. A program with a flat fee per approved video is also a friendly place to start, because you can get paid even before an ad takes off.
Step 3: Read the Brief Like a Pro
A brief is the brand’s instruction sheet. Most rejections happen because a creator skimmed it, so read it twice and look for these details:
- Key message. The main benefit they want viewers to remember.
- Must include. Product shots, features, or phrases you are required to show or say.
- Do not say. Banned claims, such as medical promises or competitor names.
- Format. Video length, vertical framing (9:16, the tall phone shape), and whether they want captions or music.
- Angles. Story styles they like, such as unboxing, problem and solution, or “things I wish I knew.”
Also read the usage terms. Approved videos become the brand’s ads, so understand how they can use your content before you submit. If something is unclear, message the brand in the app’s built in chat.
Step 4: Film Your Video on Your Phone
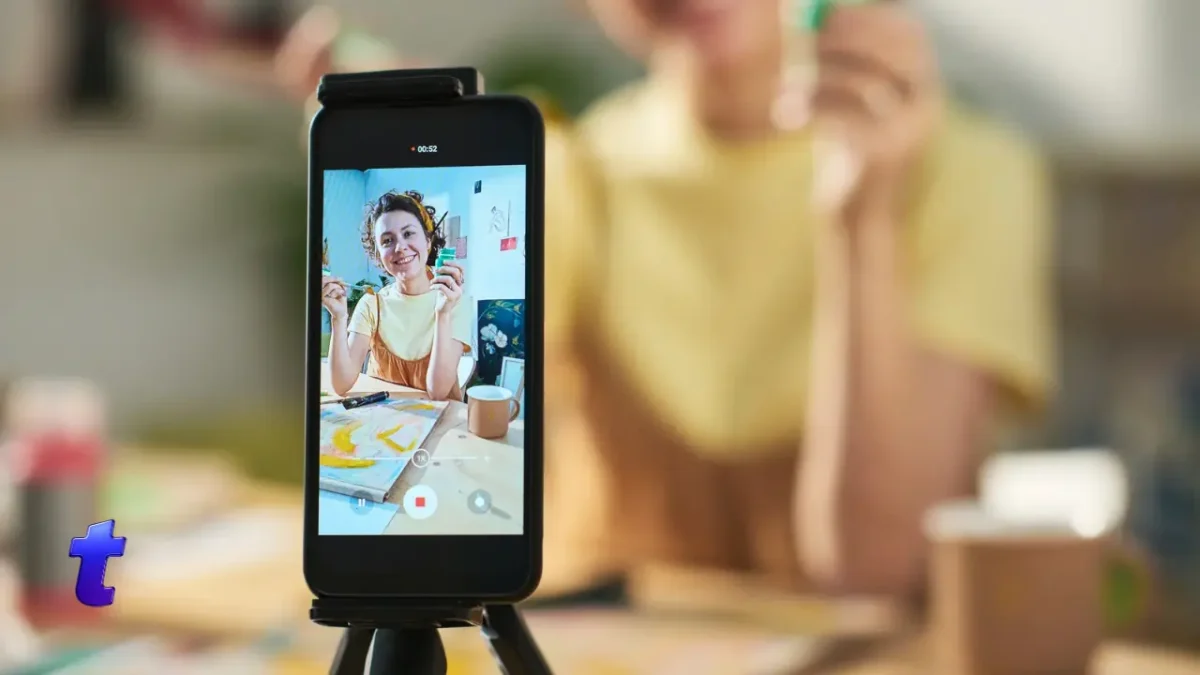
You are not making a commercial. You are making a video that feels like a friend’s recommendation, which is exactly what performs well as an ad.
Set Up in Five Minutes
- Face a window for soft, flattering light. Avoid having the window behind you.
- Prop your phone at eye level on books or a cheap tripod, filming vertically.
- Use the back camera if you can. It is usually sharper than the selfie camera.
- Kill background noise. Turn off fans and TVs. Rooms with rugs and curtains sound better.
Use a Simple Four Part Script
- Hook (first 3 seconds). Grab attention with a relatable line, like “I almost gave up on my dry skin until this.”
- Problem. Describe the frustration the product solves.
- Demo. Show the product in use, up close, in a real setting.
- Call to action. End with a nudge, such as “Grab yours before it sells out.”
Camera Shy? Try These
You do not have to show your face in every shot. Hands only demos, voiceovers on top of product clips, and “point of view” shots filmed from your perspective all work for many briefs. Check the brief first, since some brands specifically want a face on screen.
If you do talk to camera, film in short clips instead of one long take. Say one line, stop, and repeat. Then trim the clips together in a free editor like CapCut or your phone’s built in editor.
Step 5: Submit, Revise, and Track
Before you upload, watch your video once with the sound off and once with it on. Check it against the brief’s must include list. Then submit it through the app.
The brand will approve it, request a revision, or reject it. A revision request is not failure. It is free coaching on what that brand wants. Once approved, brands can run your video as an ad, and the app shows your earnings in real time as orders or ad results come in.
Then do it again. Creators who submit regularly learn faster, and some brands reward consistent performers with retainers. If you have tried other video side hustles like the Amazon Influencer program, you will notice the same rule applies here: volume and consistency beat perfection.
First Video Mistakes to Avoid
- A slow start. Skip “Hey guys, so today…” and open with your hook.
- Overselling. Hype sounds fake. Honest, specific details sound trustworthy.
- Ignoring the brief. A great video that misses required points still gets sent back.
- Bad audio. Viewers forgive average video quality, but not muffled sound.
A Quick Reality Check on Money
Trybe does not publish typical creator earnings. As one example of published rates, an October 2026 roundup found the most common brand terms were 10% of sales or $50 per approved video. Those are rates, not income promises. Commission only pays if your video sells, so your first few videos may earn little while you learn. For a grounded view, read our guide on how much you can realistically earn from a side hustle.
Track every payout in a simple spreadsheet and set aside money for taxes, since this counts as self employment income. Free products can count too, so check out whether free samples are taxable before your first box arrives.
Your Starting Line
Making your first Trybe video comes down to five steps: sign up, pick a program, read the brief, film simply, and submit. You do not need followers, fancy gear, or on camera experience. You need a phone, a window, and the willingness to post something imperfect.
Your first video will not be your best, and that is the point. Every submission teaches you what sells. Keep going in UGC, and the skills you build can grow into bigger paths like social media management for brands down the road.